Food Blogging with an iPhone for beginners

IMG_2543

I’m definitely a newbie when it comes to the world of food blogging. I actually never intended my blog to go in that direction, but I love to bake and I had a longtime love for photography that somehow resurfaced – so here I am. When I started taking pictures of food, I quickly found out how little I knew about the basics of photography, but after browsing tons of sites and reading a book I’ve gotten better in a short period of time. One thing I wish i could find tons of sites about is how to do food blogging with an iPhone. Turns out that most people use fancy DSLR cameras, when I save enough money hopefully one day I will too. Until that day comes I’m trying to get the basics down and maximize the potential of my iPhone 5s, which by the way takes pretty decent pictures.  I digress, let me share a little bit with you –  some that I learned from trial and error, some from tons of reading.

#1 Keep it simple – The iPhone has a great camera, but its important to remember that it’s pretty limited – thats why its so fun and easy to use. You have little control over the depth of field and as you get better and/or learn more about photography that will annoy you more and more. So in order to maximize the potential of the iPhone keep  props to a minimum – you won’t be able to blur your backgrounds much to keep the attention on your subject. Props are great, but you want the focus on your subject. This is the point where I say ,honestly, I really like more simplistic pictures so I am biased.

#2 Focus, focus, focus – One thing I love about my iPhone is the my ability to interact with the screen to choose my point of focus. This makes its much easier to select exactly what you want to fucus on. You’re only working with about 8 megapixels, but this allows you to really make them count. So, do focus – often and a lot. Play with different points of focus, and remember that some points of focus will result in different amounts of lighting. Select the point of focus that allows for the best balance of light.

#3. Lighting Matters – if you have done any reading about photography you have problem learned that lighting is THE most important part. All those books ain’t lying. Bad lighting =’s a bad photograph. Earlier I experimented a lot with DIY Ego lighting – and got pretty good results. But my recommendation is to go with natural light – it really adds life to your photos and makes food look as delicious as it tastes. Here are some  quick tips on how to harness the beauty of natural light. First I like north facing windows – the light is indirect and relatively consistent for many of the daylight hours of the day. Second – diffuse diffuse diffuse, this will give your photos a softer more even lighting. And last – use reflectors. These don’t have to be expensive, I just use white foam board. These can help you illuminate parts of your subject that may be darker. Here is the basic set up I used to take the photos in this post. 

Untitled

#4. Don’t use the flash – this really could have been part of the previous tip but I didn’t want it to get lost. It’s imperative to never use the flash when photographing food. It makes your food looked washed out, and who wants to look at or click on washed out food – ‘nough said.

#5. Try try again. Honestly this tip probably applies to life in general, but as your mom always said “ if at first you don’t succeed try try again” It’s easy to take a million pictures with the iPhone – use that to your advantage. You would be surprised how what you capture can change even when you think you didn’t change anything. If you take a lot of pictures, you can find the best one – the one with the best lighting, the best focus, the best perspective.

I am by no means an expert, I have a lot to learn and I’m looking forward to soaking up every bit of knowledge possible. But I wanted to write this post for two reasons. One, I want other people who are using their iPhones to food blog not to feel alone or inferior for some reason. And two, because I wanted to tell you what I’ve learned in a quick and hopefully helpful way. Good Luck!!


 IMG_2511

Fitness and my bad knee

Back in 2010 I trained for a half-marathon. Before that time I had no interest in running, but for some reason I woke up one day and decided to go for it. In the beginning it was horrible, and I hated every run, but something happened when I trained up to 5 mile runs. I really started to love it, I felt strong and confident in a way that I had never felt before. From that point on I loved training – something indescribable happens when you really start to push yourself physically. About 2 weeks before the race I could run 15 miles, you can’t imagine how great that felt. Well, if you’ve ever trained for a long distance run you probably  know exactly what I’m talking about. Unfortunately, over the next couple of weeks I developed  bad knee pain and wasn’t able to race. Needless to say I was really disappointed.

Two years later I ran Iron Girl and training re-aggravated whatever was going on with my knee two years earlier. When I realized my knee pain wasn’t going away I started physical therapy for  patellofemoral  syndrome. I’ve been doing it for about 9 months with little change, but I did see some improvement when I started taping my knee. Anyway, at this point I am really frustrated, and physical therapy is way to expensive for me to continue it. I love being active, and would workout most days of the week if I didn’t have so much knee pain. I remember what it was like to workout without pain, and it was soooo great. I don’t know if I will ever get back to that, but I have decided that completely accepting and celebrating myself also means I have to accept that my body is different than it was 5 years ago, but that doesn’t mean I can’t still be a fit person. I have let my knee pain get in the way of working out for a long time now, and between you and me, I’m over it. So I’m going to work on appreciating my body for what it can do instead of focusing on my limitations. I’ll let you know how that goes.

Gluten Free Sugar Cookies

IMG_2427

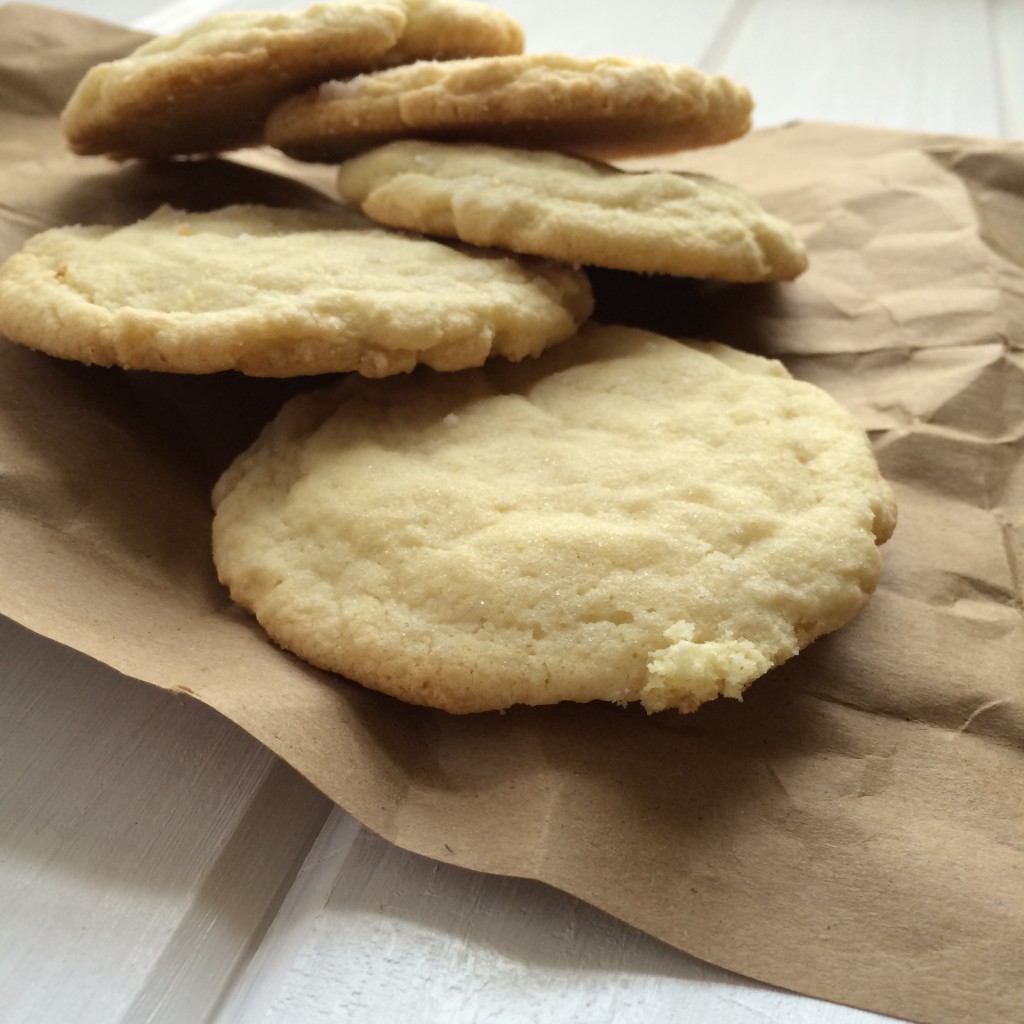
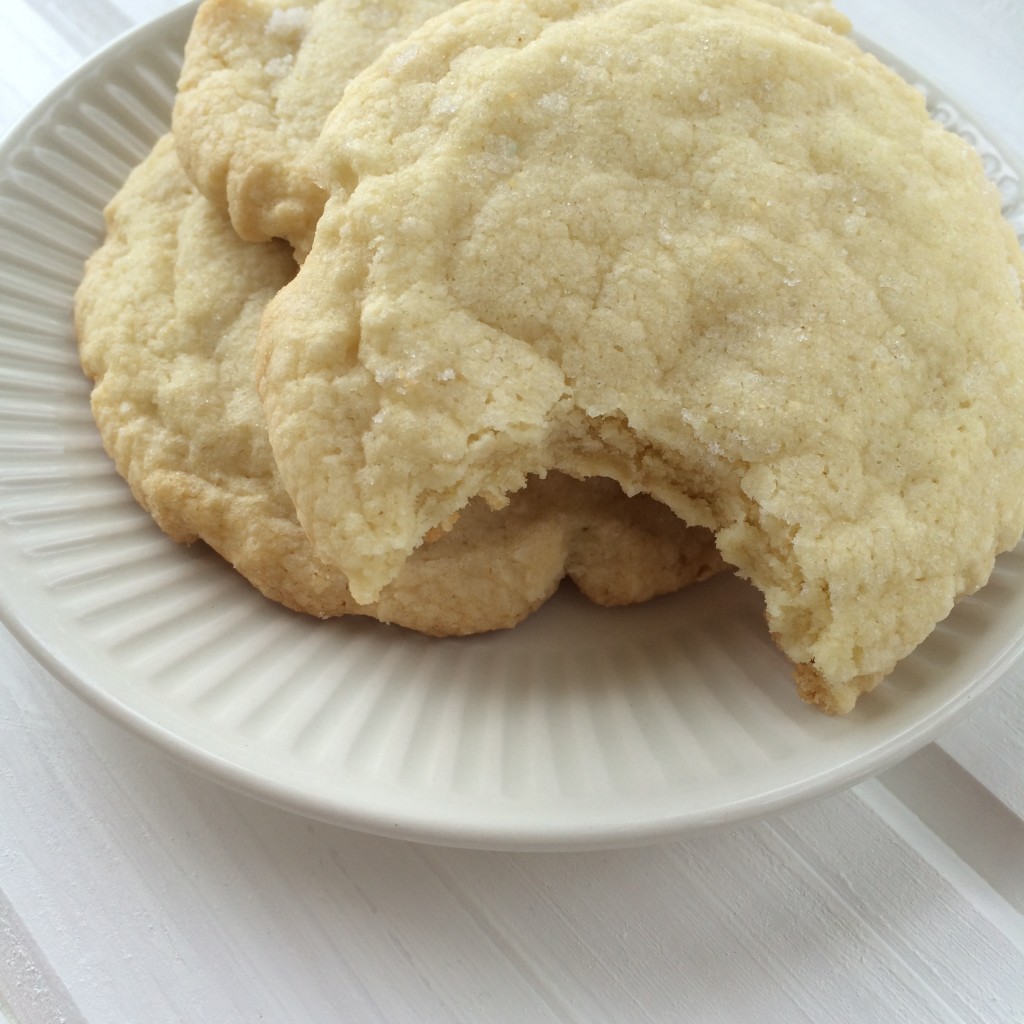
I love cookies and honestly I haven’t met one cookie that I didn’t like, except Oreos – I just don’t get it. Like most of the foods I love, my obsession for cookies is somehow tied to childhood. When I was a kid, I hung out with my mom all the time, and one of our rituals was going to the Citadel Mall in Charleston, SC every month. I grew up in a small town so going to the mall involved driving for an hour and a half. So anyway, every time we went I got a sugar cookie from the Great American Cookie Company – needless to say cookies and I go way back. So it just makes sense for me to start posting stuff about cookies – starting with a classic sugar cookie recipe.

So I forgot to mention that this past summer I went gluten free for about 3 months for a bunch of boring reasons. Since then I’ve been kind of on and off with it and I’m basically only gluten free when it’s convenient – and it’s never convenient. Since the new year I’ve sort of recommitted to – at the very least – eating less gluten. So I thought, why not make my first cookie recipe post a gluten free one. I wish I could take full credit for this recipe, but I can’t. Much of the credit belongs to the sugar cookie recipe on the back of Target brand sugar, which just happened to be delicious. Let’s get into it.

Ingredients:

  • 2 3/4 cups all-purpose gluten free flour (I picked up some from Trader Joe’s)
  • 1 tsp baking soda
  • 1/2 tsp baking powder
  • 1/2 tsp salt
  • 1 1/2 cups granulated sugar
  • 2 sticks butter, softened
  • 1 egg
  • 1 tsp vanilla

Directions:

  1. Preheat your oven to 375 degrees. Then combine flour, baking soda, baking powder, and salt into a small bowl – set this aside for now.
  2. In a large bowl, cream sugar and butter together until it’s creamy. Then add the egg and vanilla, continue to mix until it’s fluffy.
  3. Pour your dry ingredients into your sugar/butter mixture and mix until well combined.
  4. Roll cookie dough into small balls – about 1 inch. If you want a flatter cookie you can press the balls out on your cookie sheet, but if you prefer a more mounded style cookie let the oven do the flattening.
  5. Bake 8 -10 minutes, you want the edges to be golden. Cool cookies for a few minutes and enjoy!

Makes around 4 dozen cookies.

IMG_2434

A healthier alternative

blueberry2


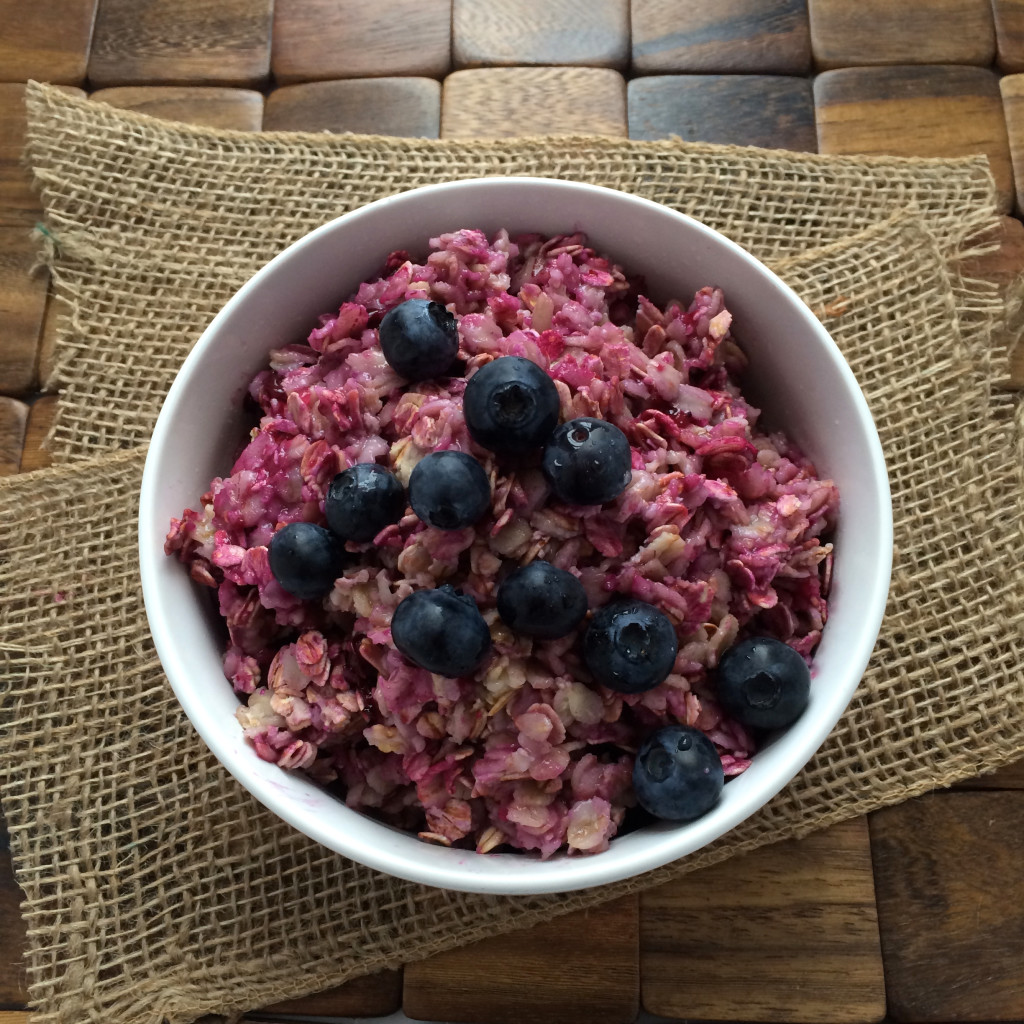
I’ve already professed my love for bread – I really love it. As a kid, one of the first things I learned to make on my own were semi-homemade blueberry muffins. Ever since then, I can’t find a muffin that I like more. Problem is muffins aren’t exactly the best way to use my calories, so I came up with a healthier alternative – blueberry muffin oatmeal. I’m already a big lover of oatmeal so the combination was a no brainer for me. So for all you blueberry muffin lovers out there, try this healthier alternative that still gives a little of that special something.

Ingredients

  • 1/2 cup  Old fashioned oatmeal
  • 1/4 cup  Blueberries
  • 2 tsp   Granulated White Sugar
  • pinch of  Salt
  • 1/8 tsp  Vanilla
  • 1/2 tbs   Butter
  • 1/2 cup   Almond Milk
  • 1/2 cup  Water

Directions

  1. Bring water, almond milk, and salt to a boil over medium heat
  2. Add in blueberries, sugar, vanilla, and butter
  3. Continue to cook on medium heat for 5 minutes


Returning to my former glory

ig

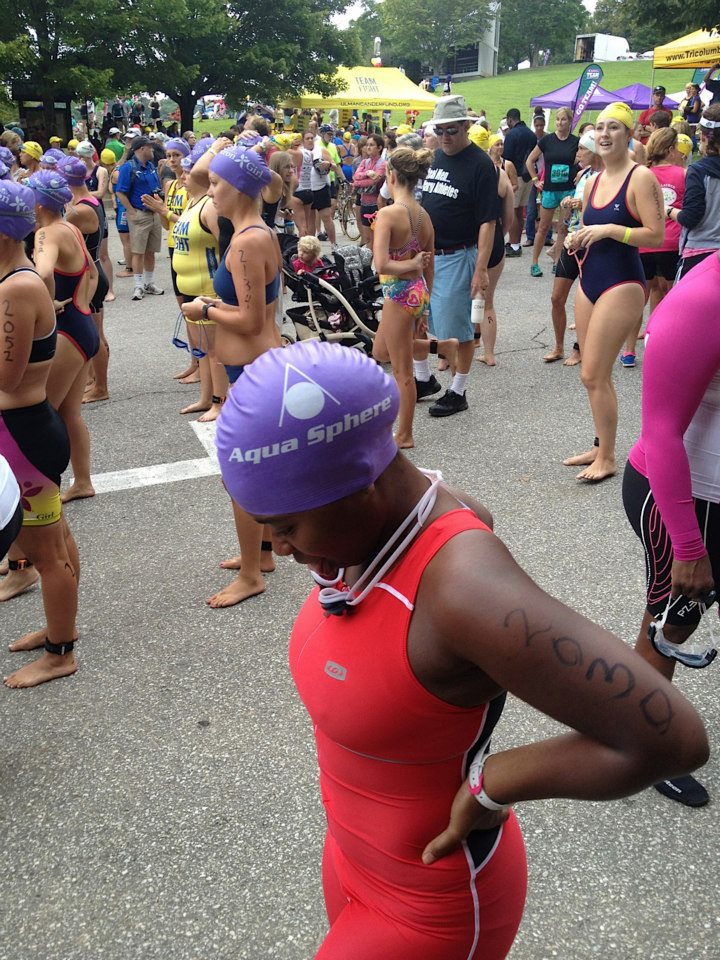
On Thanksgiving in 2011 – post pig out – I decided that in 2012 I was going to run an Iron Girl Triathlon. Honestly I have no idea where the idea came from, I think I must have been feeling guilty from all the food I had just eaten. So anyway, over the next 9 months or so I dedicated myself to training. Let me just say, it was a lot of hard work and crazy expensive, but well more than worth it. I wish I was a great enough writer to explain to you how amazing the entire experience was – sadly I’m not – but lets just say I have never felt more amazing in my 27 years than I did on that day. Crossing the finish line was a rush, and a moment that will always remain vivid in my mind.

Before Iron Girl, I struggled with my weight –  though it might be more accurate to say that my real struggle has always revolved around me being way to hard on myself about the way I look. I wish I could say that becoming an Iron Girl cured me of my negative talk habit, but it didn’t. But what I did take away from the experience, is learning to love my body not just for the way it looks, but – more importantly –  for the things it can do. Ironically, on that day I was definitely not at my preferred weight, but I never felt more comfortable in my own skin or more proud of my body. Everyday it becomes more evident how much life is dominated by perception. But I digress – rambling is my speciality.

So I decided to share this experience for one because it was one of , if not the most profound experience of my life, but also because it’s relevant to my immediate hopes for the future. Earlier today I went to the gym, for the first time in months. A combination of legitimate reasons and excuses have made it difficult for me to make fitness a priority in my life. So in the spirit of New Years, I am being extremely cliche and making a new commitment to fitness. But, arguably that’s the easy part because returning to my former glory is more than me getting into shape. I’m also making a new commitment to loving, accepting, and celebrating my body no matter where I exist on my weight continuum. Wish me luck!


Mixing it up

Blackberry Lemon Butter

IMG_2123

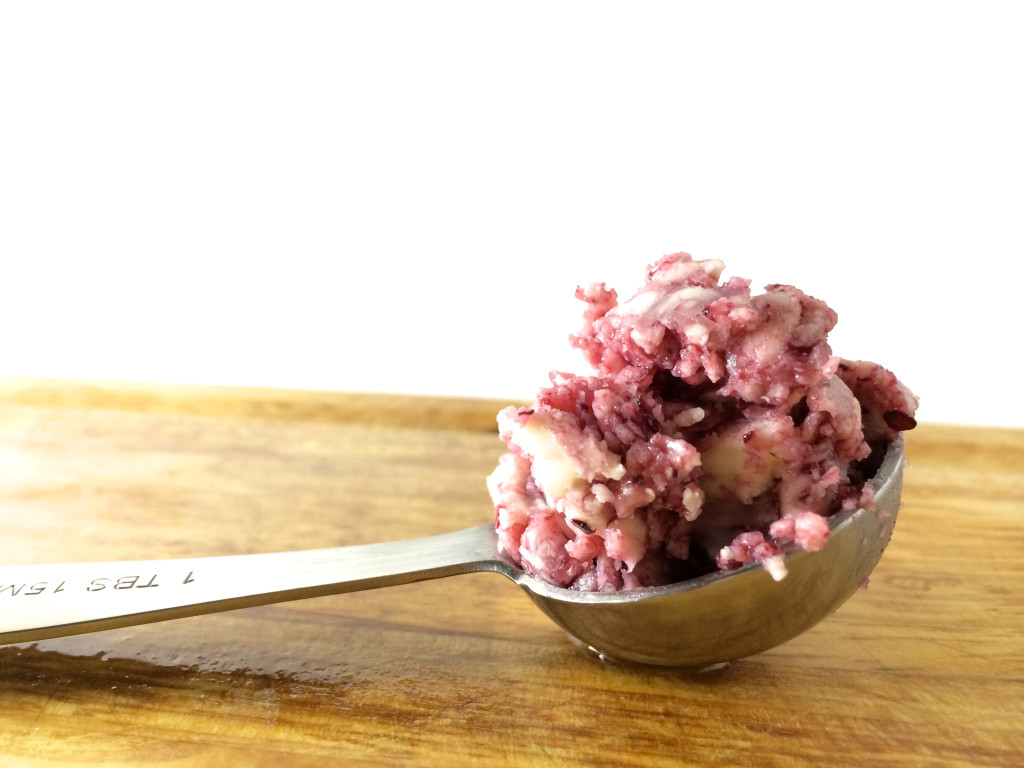
I love bread, and what goes better with bread than butter – basically nothing. Sometimes, though, plain butter can be kind of bland. So I thought I would come up with a very simple solution to make it a bit more exciting. Check it out.

Ingredients:

  • 8    tbs (1 stick) of unsalted butter
  • 1     tbs of blackberry preserves
  • 1/2 tsp of lemon zest

Directions:

  1. Allow one stick of unsalted butter to reach room temperature – you want it to be soft, but cool to the touch
  2. Using a mixer with a paddle attachment (stand or hand mixer) whip butter until it’s soft, about 30 seconds on medium speed
  3. Add 1 tbs of blackberry preserves and mix until blended, but don’t over mix – you want it to have a nice marbled look.
  4. Mix in 1/2 tsp of lemon zest

Spread on your favorite bread and enjoy!

To the future

I love the spirit of New Years,  there’s something renewing and inspiring about witnessing the arrival of another year. Life moves so quickly, and there seem to be few moments that encourage us to slow down and reflect. But, every year around this time, most of us think about our lives in retrospect and become inspired to be better versions of ourselves – I love that about New Years. So in the spirit of reflection, I have to say this has been a good year. I feel more connected to the people I love, and at 27 I finally feel like I am learning what it means to really value and appreciate life. As I think about the coming year I hope for a few great things: to become a better version of myself, to get more out of life, and to love greater.

Happy New Year!!